共计 4633 个字符,预计需要花费 12 分钟才能阅读完成。
背景
前段时间写的文章:115网盘制作备份服务器 中,有提到 clouddrive2 和 rclone 在向 115网盘 同步文件时,均会在本地产生缓存文件。
当时为了测试大文件传输,在 pve web 控制台上调大了磁盘的容量,100GB –> 250GB。
事后我通过直通硬盘的方式,将缓存目录映射在外部 ssd,没有使用到虚拟机的 local disk。250GB 的硬盘实际使用还不到 100GB。
尽管实际使用空间不到 100GB,但是计划任务中的虚拟机备份,却会产生 190GB 的快照。这部分无效数据占用了我大量的空间,于是着手研究如何缩容虚拟机磁盘。

实操
首先,缩容磁盘是高危操作,在执行操作前请先备份你的虚拟机。
PVE 的 web控制台,原生只支持扩容空间,而不支持缩容。要缩容需要通过命令行操作。没有想象的那么简单。
查阅了不少文档,有一些完全的误人子弟,历经了 5次 失败才成功缩容,并且每次失败会直接导致虚拟机本地磁盘损坏,无法引导操作系统。
所以再次强调,首先就要备份虚拟机,故障后才能回滚。
踩坑路径
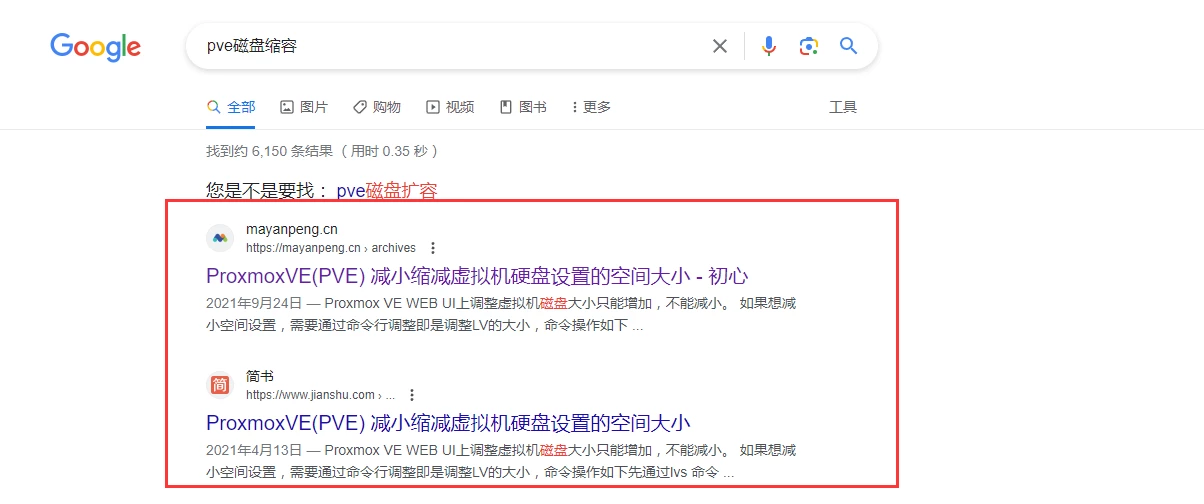
- google 索引最前的文章
这两篇文章是一样的,照着操作完毕直接导致系统无法引导,故障表现为开机只能进入 initramfs。
它的操作是使用 lvm 直接缩容:
lvreduce -L -100G /dev/pve/vm-105-disk-0直接操作会直接损坏分区表。
-
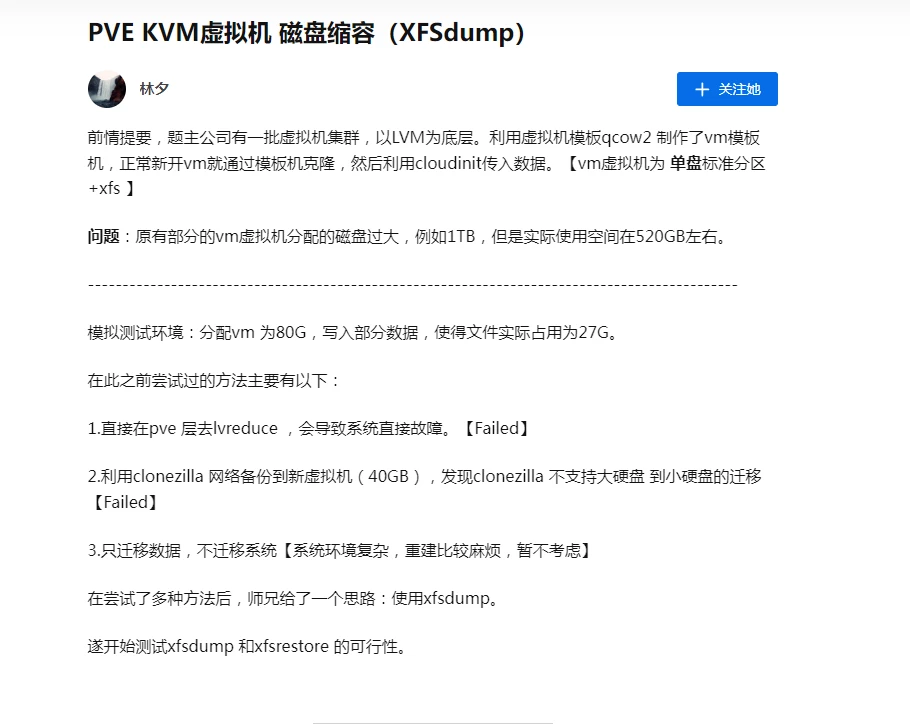
此方式粗看是可行的,因为它并不会操作磁盘,而是通过转移数据的方式实现,其实并不能称之为缩容。
我觉得此方式不够优雅。一是繁琐,二是我觉得这绝不是最佳实践方式。所以我并未花费时间进行实践。
-
这篇帖子里面有完整详尽的步骤,可以实现对硬盘缩容。但是最终实现的方式需要自己理解和组合。有些人的说法是存在一定谬误的。例如
noel. 提到的重建 GUID 分区表的行为是必须的,但是它给到的链接操作步骤却并不适用。链接内让先删除分区表再进行创建,这是不安全的行为,也会带来破坏分区表无法引导系统的问题。
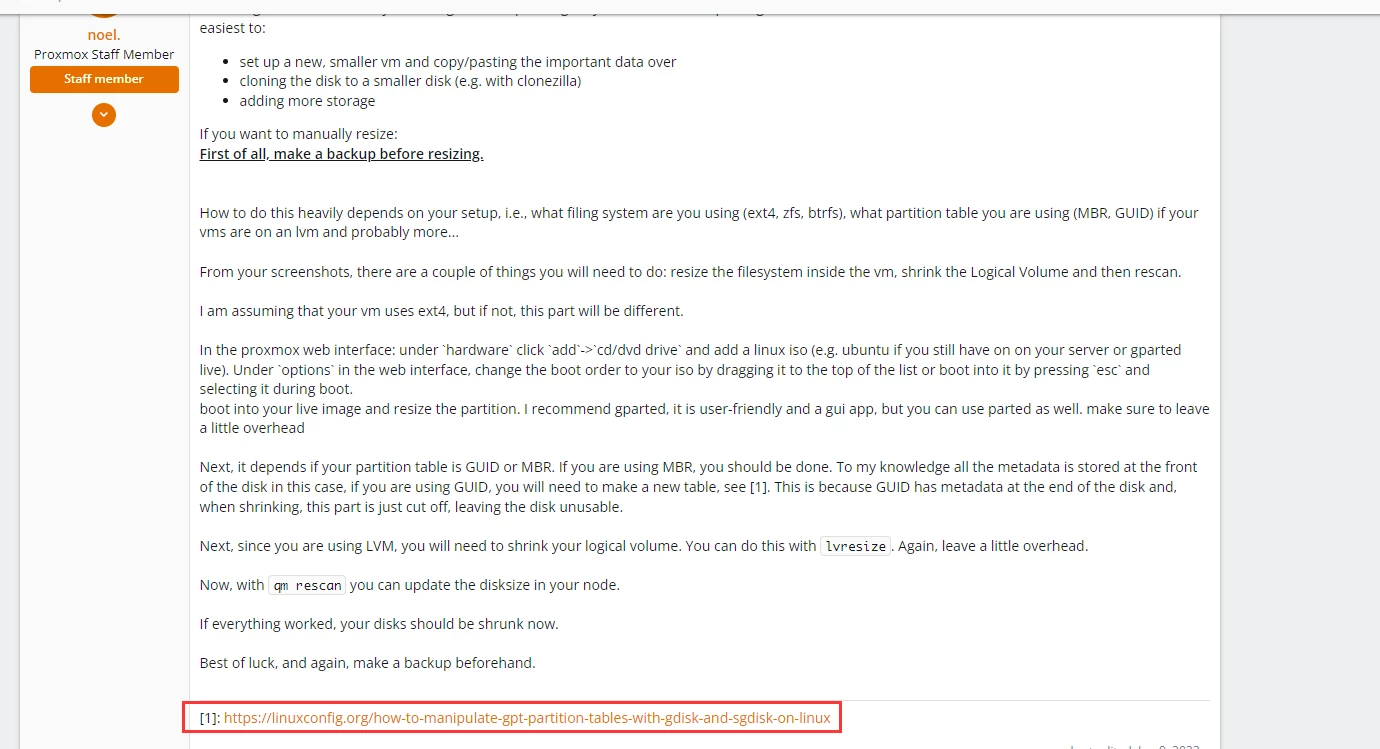
而arukashi提到的流程完全正确,但是并不详尽,没有详细说明如何备份和恢复 GUID 分区表。

最终实践步骤概述:
- 虚拟机:图形化界面操作
- 关机,开机时使用
ubuntu 20.04 live cd 引导,在虚拟机vnc控制台上的图形化界面进入 try ubuntu激活试用环境 - 在终端键入 gparted ,GUI界面缩容磁盘
- 缩容完毕后关机
- 关机,开机时使用
- pve 宿主机:命令行终端操作
- 使用
gdisk 备份 GUID 分区表 - 使用
lvreduce 缩容磁盘 - 使用
gdisk 恢复 GUID 分区表 - 使用
qm rescan 应用改动
- 使用
Ubuntu 虚拟机操作
此次操作的是 pve 虚拟机
编号:102
操作系统:Ubuntu 20.04
系统盘分区:/dev/sda2
分区表格式:GUID
下载镜像
参考链接:Ubuntu 官网
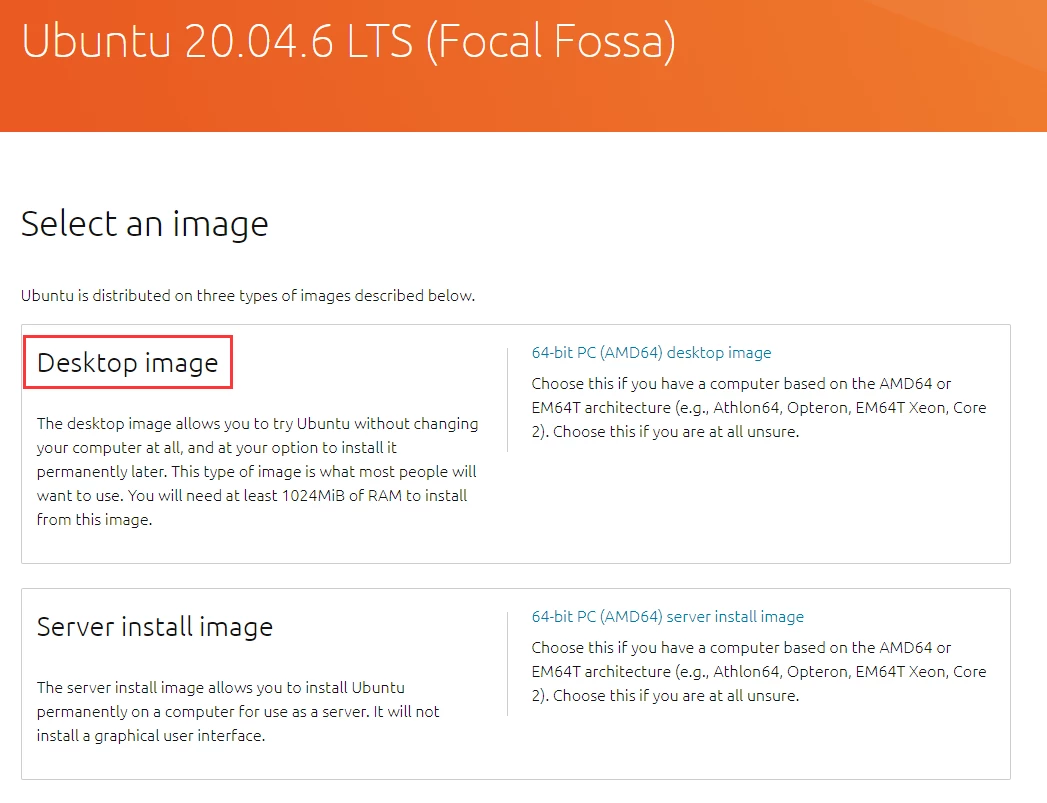
需要下载 Desktop image,因为 Server install image 不包含 try ubuntu 的试用环境,无法操作虚拟机硬盘分区。
下载完毕后,上传至 pve 镜像。
使用 gparted 缩容虚拟机分区
在虚拟机配置中调用刚才上传的镜像:

执行关机,然后在 vnc 控制台开机

开机时快速按 Esc键,选择 CD模式 引导系统,引导完毕后选择 try ubuntu。在ubuntu桌面试用环境下执行 gparted,调整 /dev/sda2的分区大小,并保存:
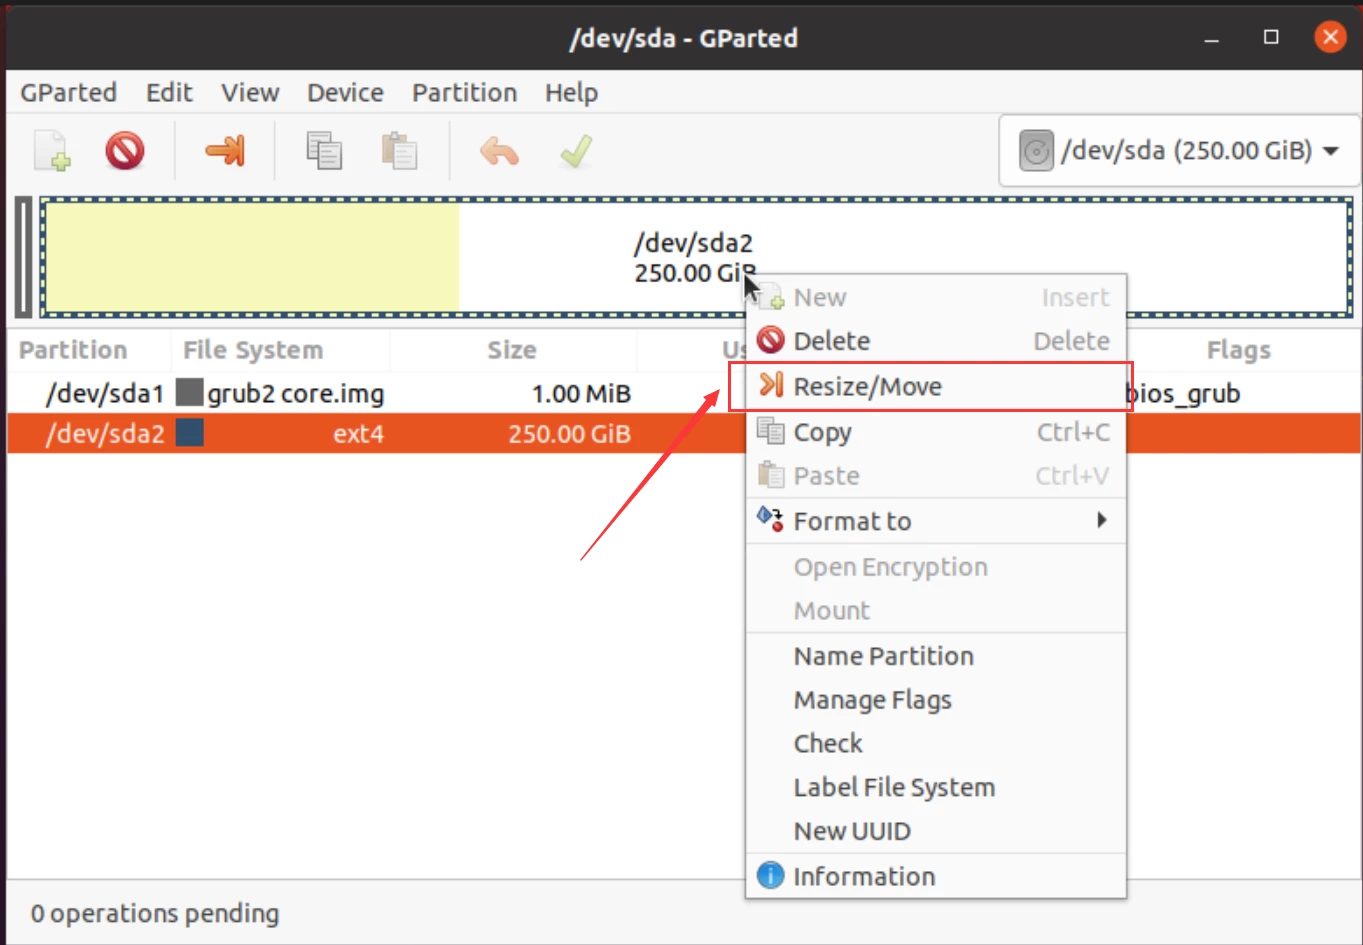
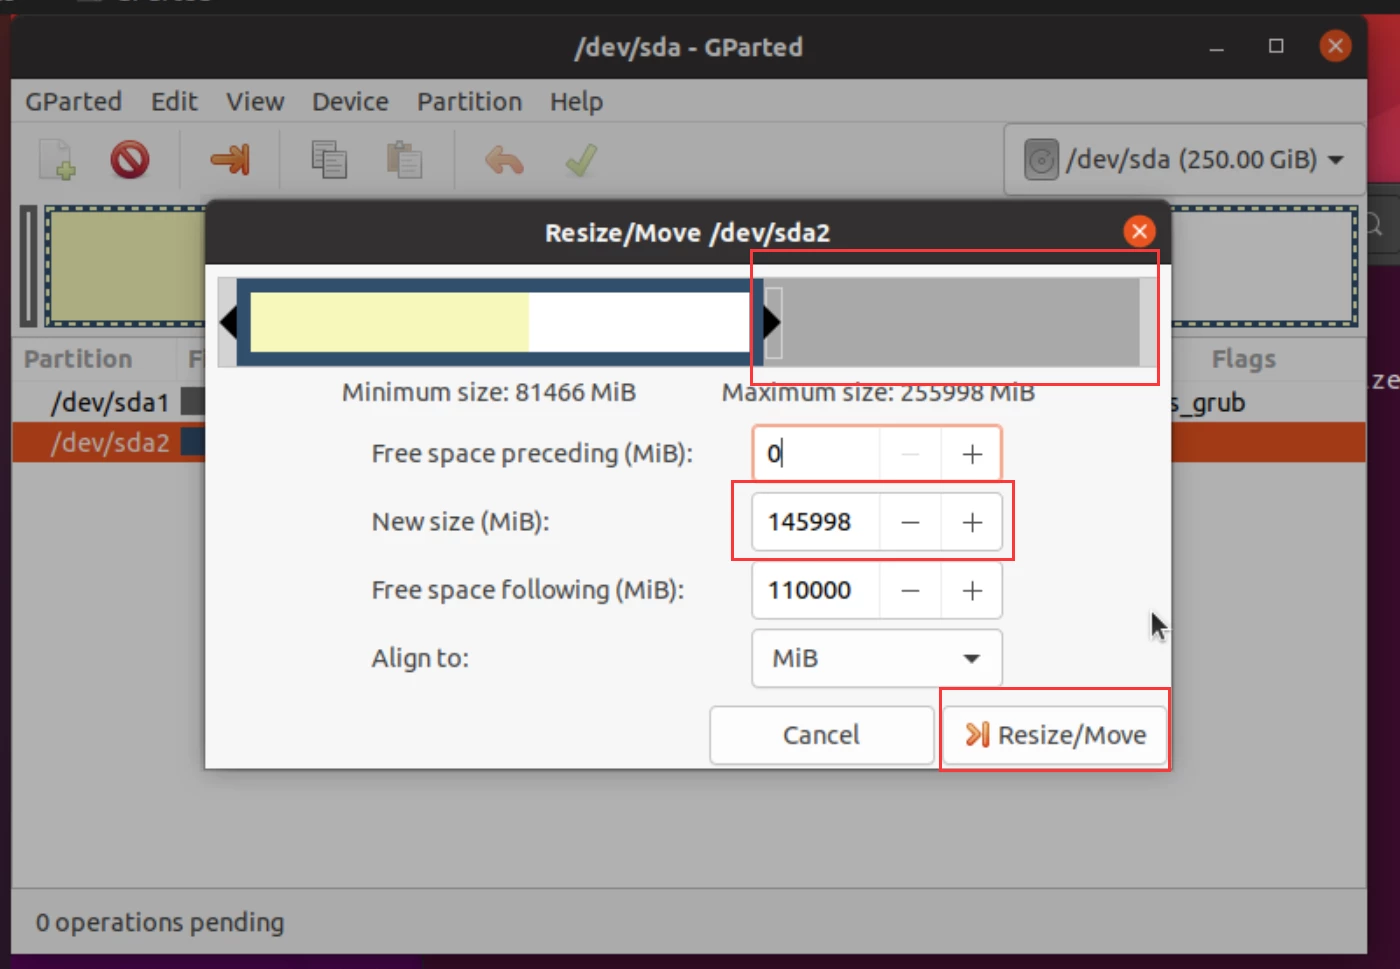
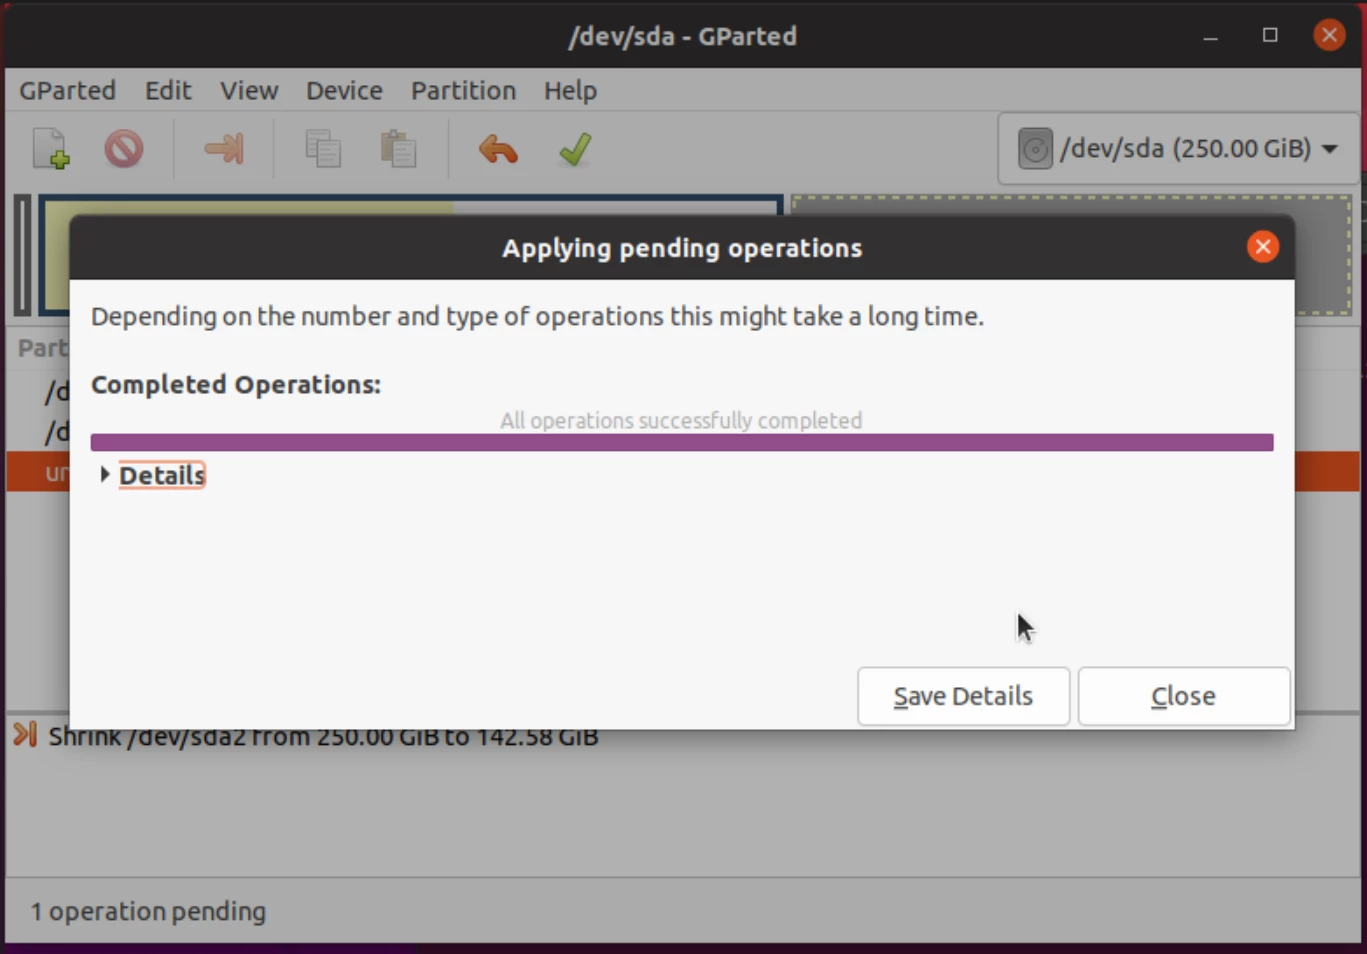
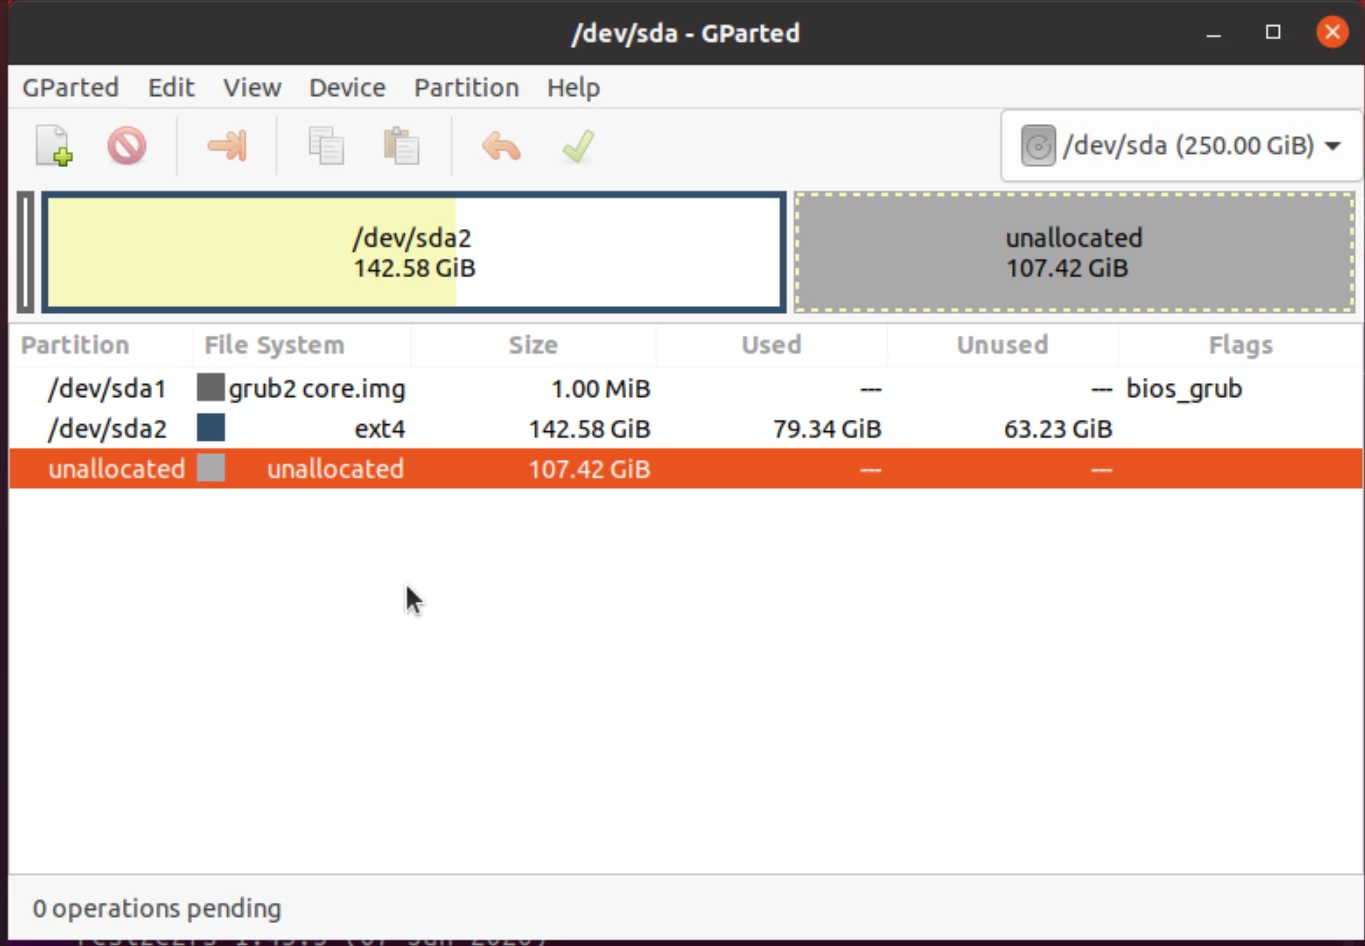
执行完毕后关机,具体缩减的容量视实际情况自行决定。
PVE 终端操作
使用 gdisk 备份分区表
键入 b 并回车,再输入分区表备份的文件名并回车
文件会保存在执行 gdisk 命令的工作目录下。
root@pyw:~# gdisk /dev/pve/vm-102-disk-0
GPT fdisk (gdisk) version 1.0.6

Partition table scan:
  MBR: protective
  BSD: not present
  APM: not present
  GPT: present

Found valid GPT with protective MBR; using GPT.

Command (? for help): b
Enter backup filename to save: guid-bak
The operation has completed successfully.
lvm缩容
使用 lvreduce 进行缩容,缩容后分区表会遭到破坏。
注意,如果在 ubuntu 操作步骤中缩容了100GB,此处需要留一些冗余,例如 99GB。PVE 上缩容的容量不能超过使用 gparted缩容的容量。
root@pyw:~# lvreduce -L -120G /dev/pve/vm-102-disk-0
  WARNING: Reducing active logical volume to 130.00 GiB.
  THIS MAY DESTROY YOUR DATA (filesystem etc.)
Do you really want to reduce pve/vm-102-disk-0? [y/n]: y
  Size of logical volume pve/vm-102-disk-0 changed from 250.00 GiB (64000 extents) to 130.00 GiB (33280 extents).
  Logical volume pve/vm-102-disk-0 successfully resized.
使用 gdisk 恢复分区表
依次输入 r,l,分区表路径,w,y
操作完毕后,重新输入 gdisk /dev/pve/vm-102-disk-0 确认分区状态,GPT: damaged会变为 GPT: present
root@pyw:~# gdisk /dev/pve/vm-102-disk-0
GPT fdisk (gdisk) version 1.0.6

Warning: Partition table header claims that the size of partition table
entries is 3901569526 bytes, but this program  supports only 128-byte entries.
Adjusting accordingly, but partition table may be garbage.
Warning! Disk size is smaller than the main header indicates! Loading
secondary header from the last sector of the disk! You should use 'v' to
verify disk integrity, and perhaps options on the experts' menu to repair
the disk.
Caution: invalid backup GPT header, but valid main header; regenerating
backup header from main header.

Warning! One or more CRCs don't match. You should repair the disk!
Main header: OK
Backup header: ERROR
Main partition table: OK
Backup partition table: ERROR

Partition table scan:
  MBR: protective
  BSD: not present
  APM: not present
  GPT: damaged

****************************************************************************
Caution: Found protective or hybrid MBR and corrupt GPT. Using GPT, but disk
verification and recovery are STRONGLY recommended.
****************************************************************************

Command (? for help): r


Recovery/transformation command (? for help): l
Enter backup filename to load: /root/guid-bak
Warning! Current disk size doesn't match that of the backup!
Adjusting sizes to match, but subsequent problems are possible!

Recovery/transformation command (? for help): w

Final checks complete. About to write GPT data. THIS WILL OVERWRITE EXISTING
PARTITIONS!!

Do you want to proceed? (Y/N): y
OK; writing new GUID partition table (GPT) to /dev/pve/vm-102-disk-0.
Warning: The kernel is still using the old partition table.
The new table will be used at the next reboot or after you
run partprobe(8) or kpartx(8)
The operation has completed successfully.


root@pyw:~# gdisk /dev/pve/vm-102-disk-0
GPT fdisk (gdisk) version 1.0.6

Partition table scan:
  MBR: protective
  BSD: not present
  APM: not present
  GPT: present
qm rescan应用缩容操作
root@pyw:~# qm rescan
rescan volumes...
  WARNING: Thin volume pve/vm-102-disk-0 maps 249143558144 while the size is only 139586437120.
  WARNING: Thin volume pve/vm-102-disk-0 maps 249143558144 while the size is only 139586437120.
VM 102 (scsi0): size of disk 'local-lvm:vm-102-disk-0' updated from 250G to 130G

# 启动虚拟机
root@pyw:~# qm start 102
验证
至此,虚拟机应该可以正常引导启动。
需要说明的是,在 ubuntu 中使用 gparted 缩容的容量,和在 pve 中使用 lvreduce并不一致。
虚拟机启动后,在虚拟机上可通过下述命令使得 PVE 分配的空间完全利用在虚拟机分区中。
growpart /dev/sda 2
resize2fs /dev/sda2
总结
操作磁盘是高风险操作,变更前为了你的数据安全,一定记得备份。
同时在 PVE 论坛中有人提到,MBR 分区表无需备份和恢复,缩容不会破坏分区表。是因为元数据均在磁盘的开头,而不是像 GUID 分区表会将元数据放在磁盘的末尾。
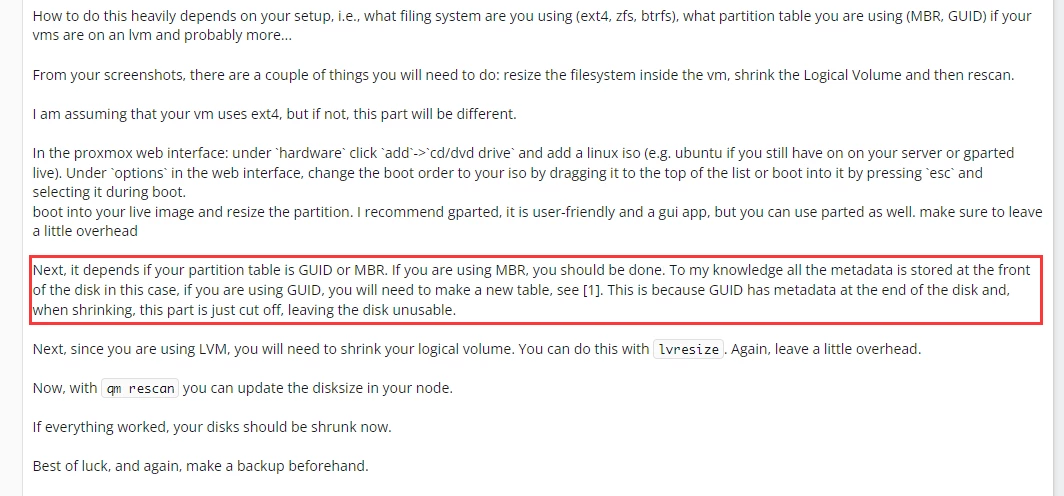
这部分我没有环境,所以并未进行实际验证。但是还是建议,无论什么分区表格式都进行备份以防万一。

